Author Topic: 22R Desmog Tutorial  (Read 19375 times)

0 Members and 1 Guest are viewing this topic.

kawazx636

  • Offline Rock Crawl'n
  • **
  • Turtle Points: 2
  • Male Posts: 32
  • Member since Feb '14
    • View Profile
    • 1983 Toyota Pickup Build
Re: 22R Desmog Tutorial
« on: Feb 21, 2014, 10:28:02 AM »
The quickest and easiest way to rid your self of smog equipment is to hike up your britches and start yanking anything with a vacuum hose attached to it.  Be brave, because at first you will second guess everything you should remove, but keep in mind that YOU DO NOT NEED SMOG EQUIPMENT FOR YOUR ENGINE TO FUNCTION PROPERLY!

Below are items that you can start to tear into first. 

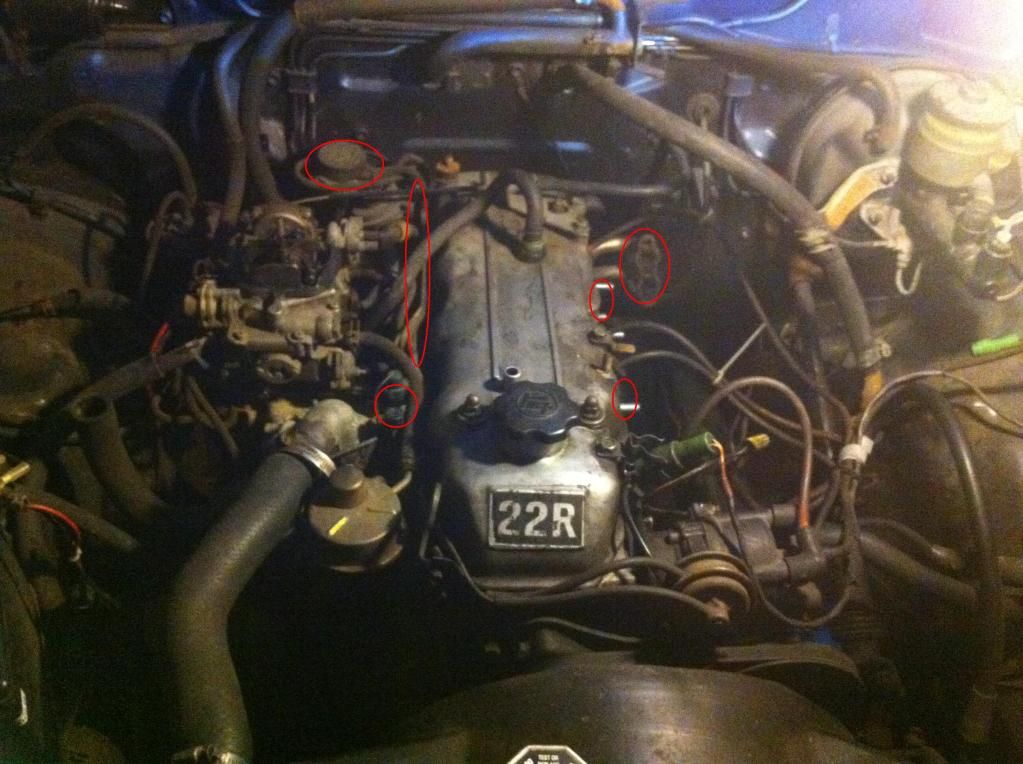
Counter clockwise from the top left circle:
-EGR Vacuum Module and Outer Vent Control Valve
-The pesky hard vacuum lines (remove all the vacuum lines attached to it too)
-Thermo switch
-Air injection piping (on the exhaust side of the head attached to the headers)


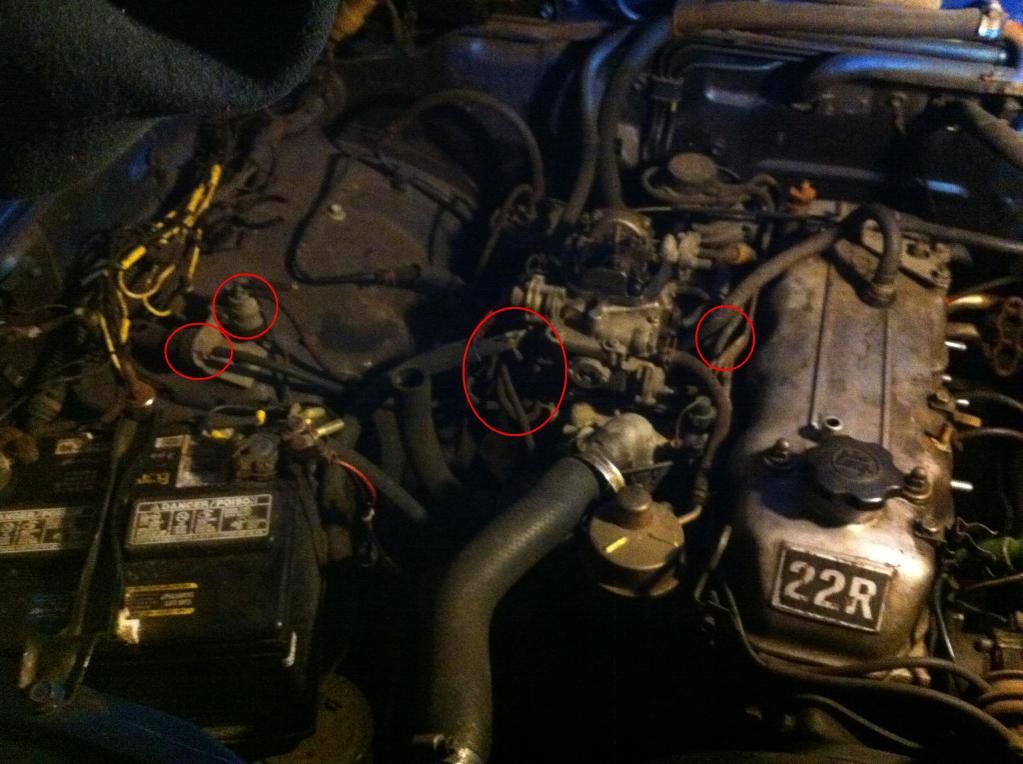
From the far left Circle:
-Vacuum switch (the High Altitude Compensator will be in this area too if you have one)
-VSV
-Reed Valve
-BVSV (attached to the center hole in the  intake side of the head


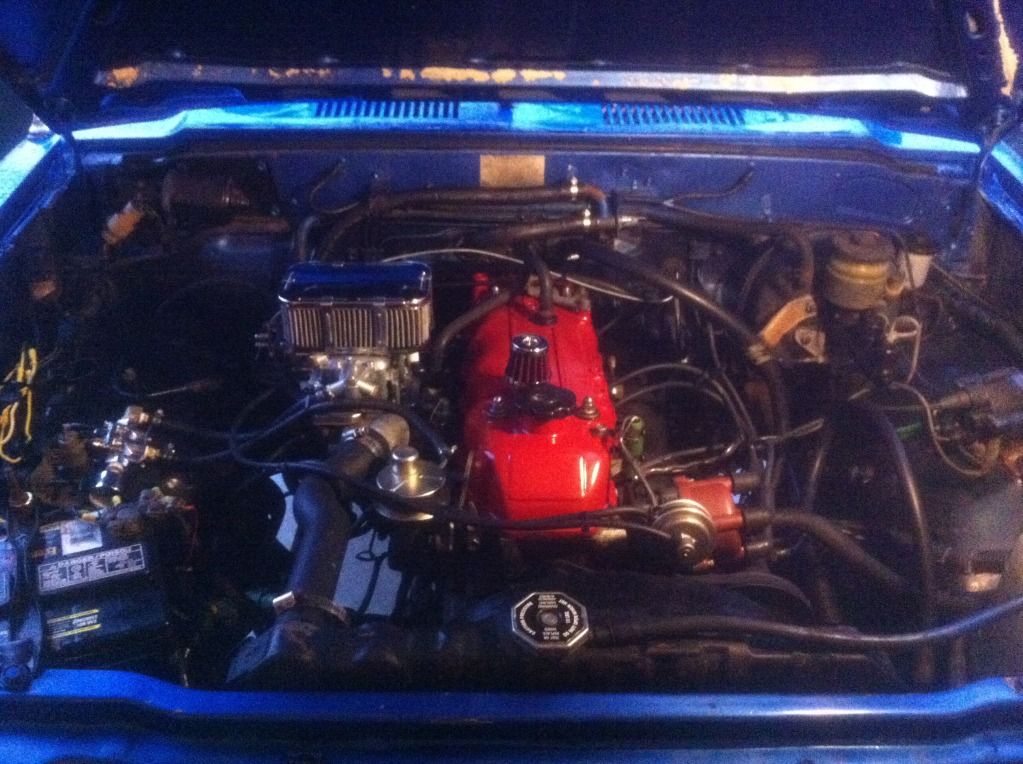
Here is a shot of a rough desmogging prior to my rebuild:
DAVE
*1983 Toyota Pick 4WD (Under Construction, see YT build threads)*

Rebuilt 22R, TG Rock Ripper stainless header with 2 1/8" exhaust, Restored chassis, Rebuilt front and rear axles, OME 2" medium duty springs w/ TG 5.5" shackles, Bilstein 5125 shocks, GM rear disc brake conversion, Sky Manufacturing HD tie rod, Ion Style 171 wheels, Falken Wild Peak Tires, replaced floorpan and more to come


Related Topics

10 Replies
3256 Views
Last post Apr 10, 2014, 04:26:24 AM
by Mtrdud
17 Replies
9410 Views
Last post Jun 04, 2006, 03:19:37 PM
by Duckman
4 Replies
1829 Views
Last post Oct 18, 2009, 09:06:30 AM
by axled89
47 Replies
13959 Views
Last post Oct 13, 2011, 12:17:52 AM
by TURBO