and so it was this is a COMPLETE BOLT ON SETUP
1st off I would Like to thank Every one for being so patient with me while I worked throught the flaws and what not getting this little project together. lets begin
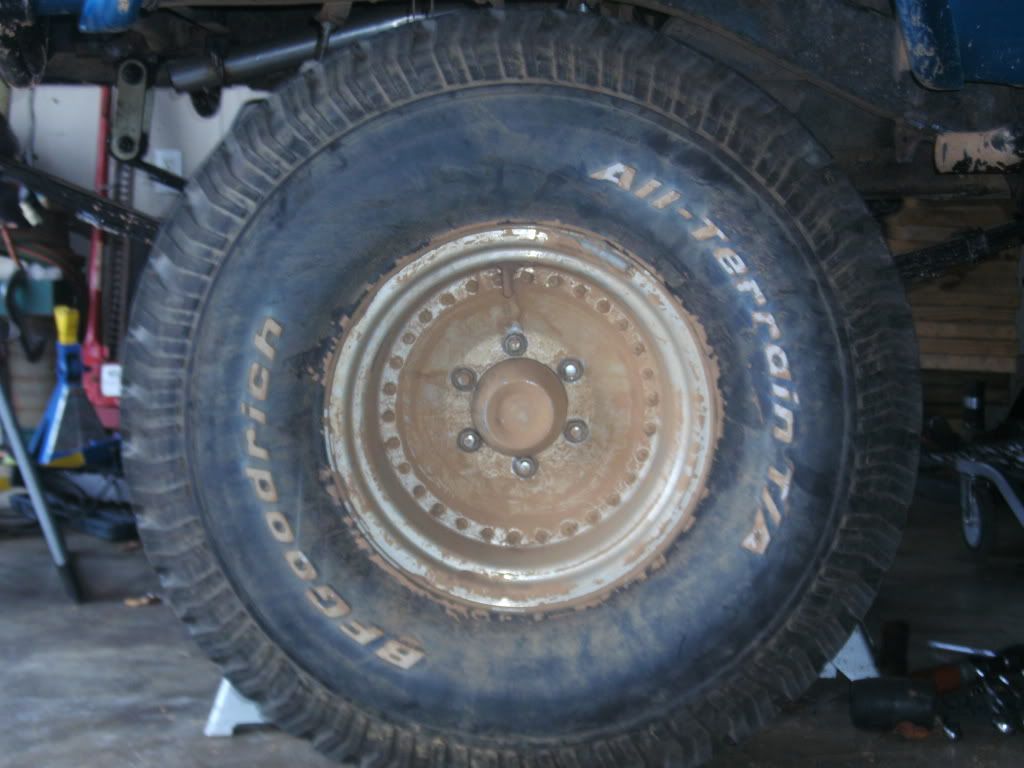
first we had to remove the tire
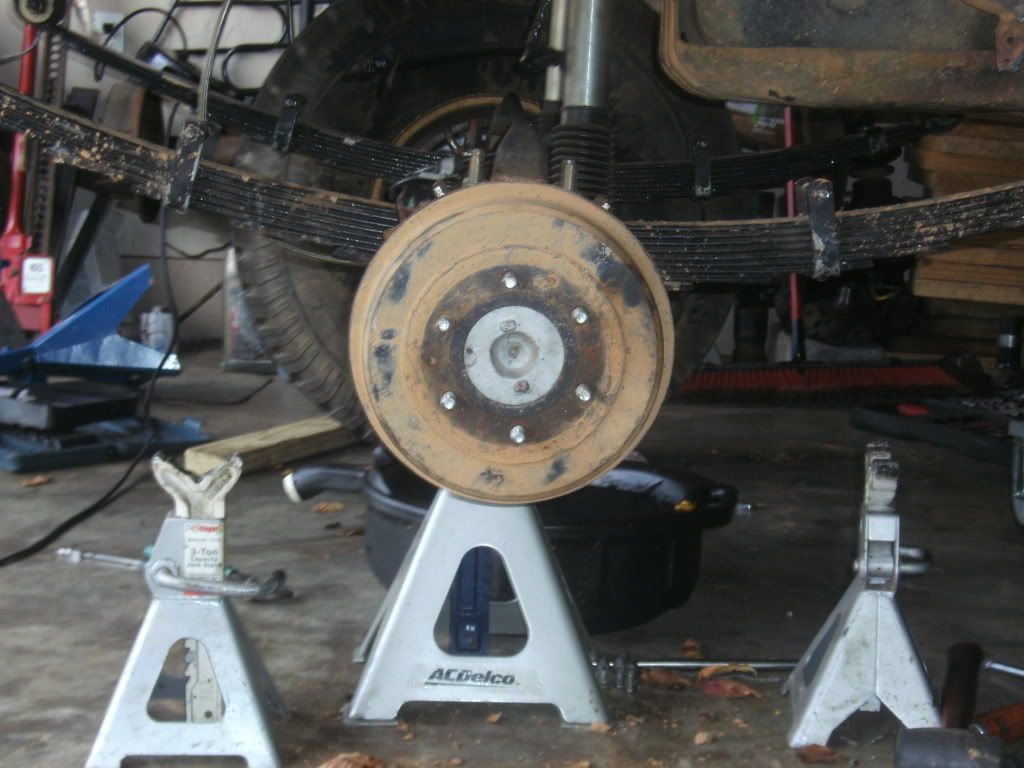
then we see the brake drum that will be removed
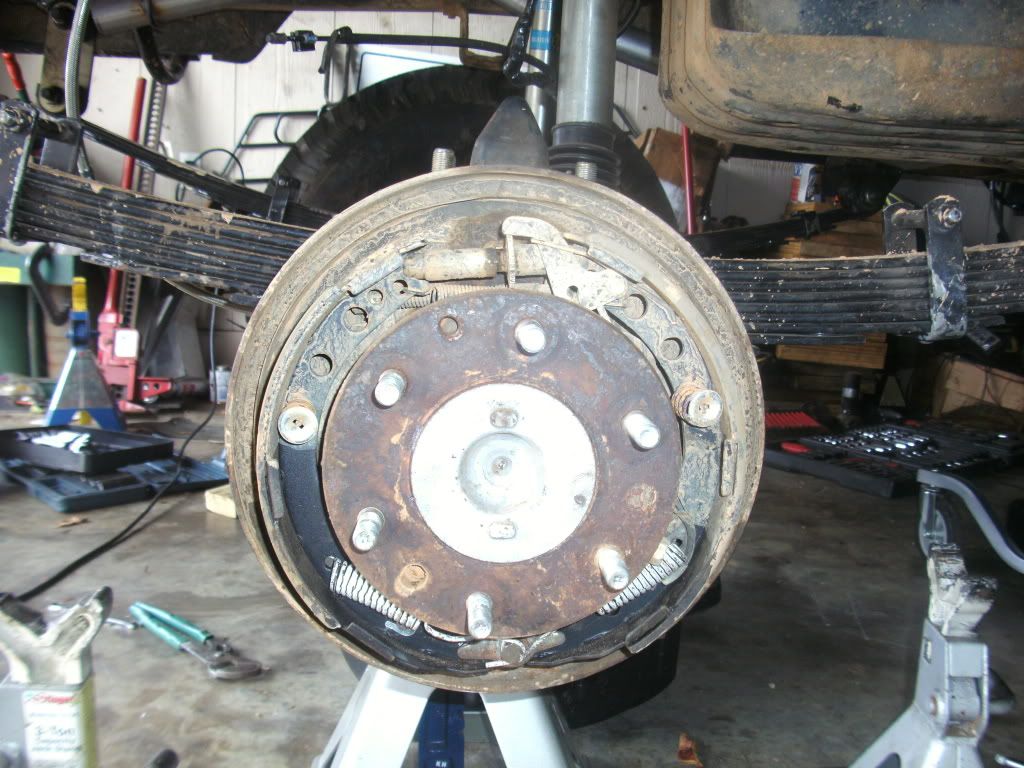
next you will see the brakes shoes themselves.
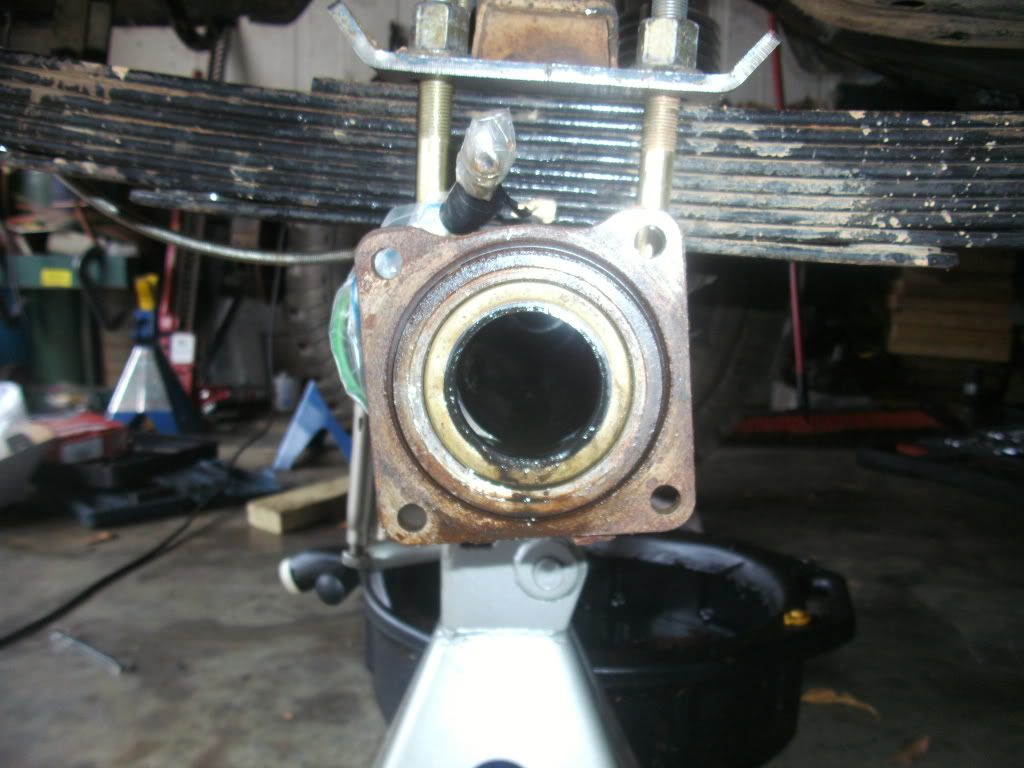
next you will need to remove the 4 bolts and lock washers on the back side of the axle I didnt get a pict of this however its basicaly the ONLY FOUR WASHERS THAT ARE ON THE BACKSIDE HOLDING THE AXLE IN
after those 4 bolts are removed you may side the whole axle out becareful not to damage the outer axle seal that is seated inside the axle .
here is the axle with the Backing plate still attached to the axle.
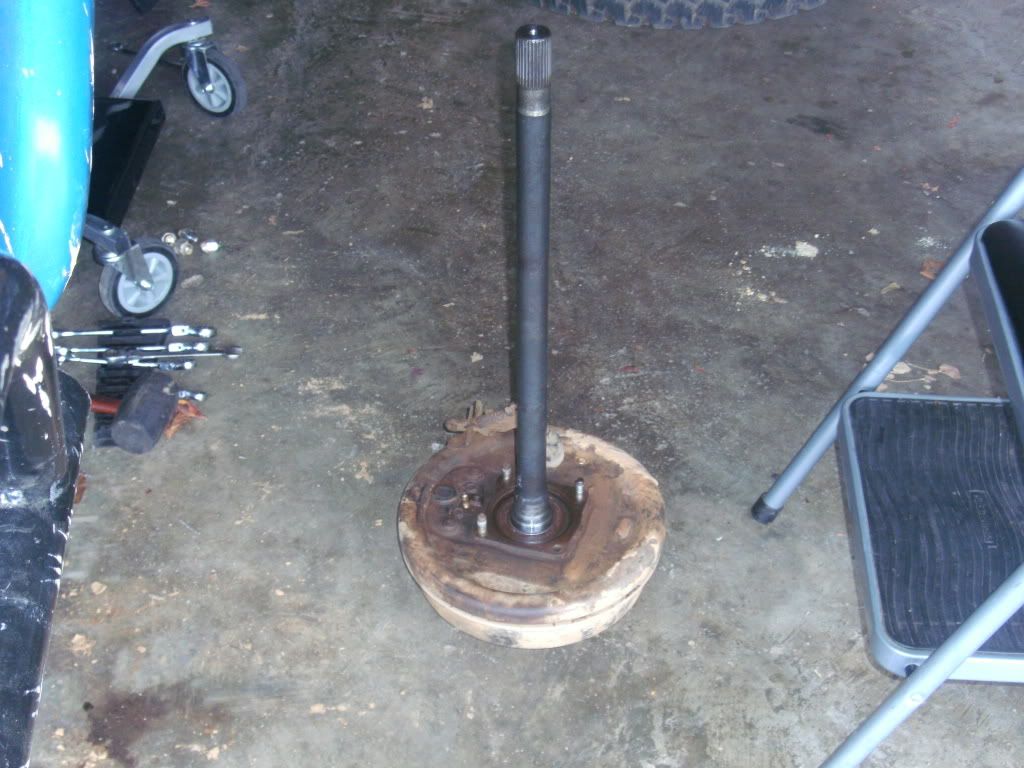
there is a C clip that
MUST BE REMOVED inorder to take the backing plate off make sure you keep this C clip you will need it to rebuild the axle

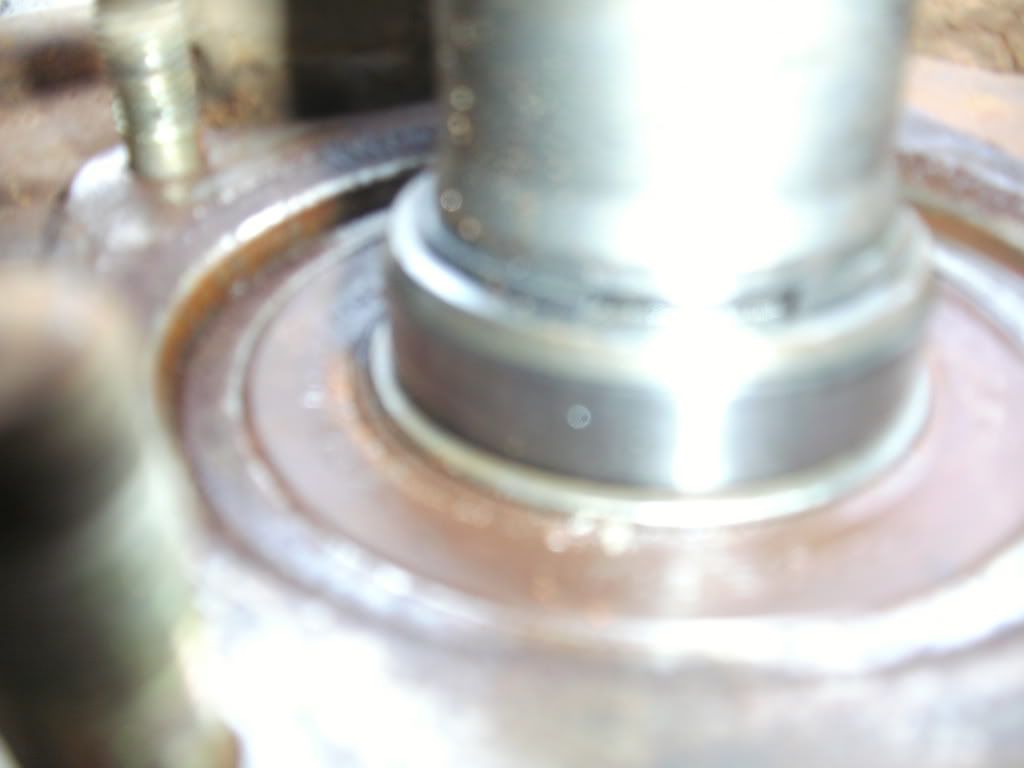
after you have the C clip off it shold look like this
once that is removed you need to get a SST IF YOU DO NOT WANT TO PAY THE MONEY FOR THE SST YOU CAN BUILD ONE IF YOU HAVE A OLD REAR AXLE LAYING AROUND.
as seen here I used the half of a rear toyota axle tube to build what will fit in my press to help remove the axle and not the bearing or the bearing cup.
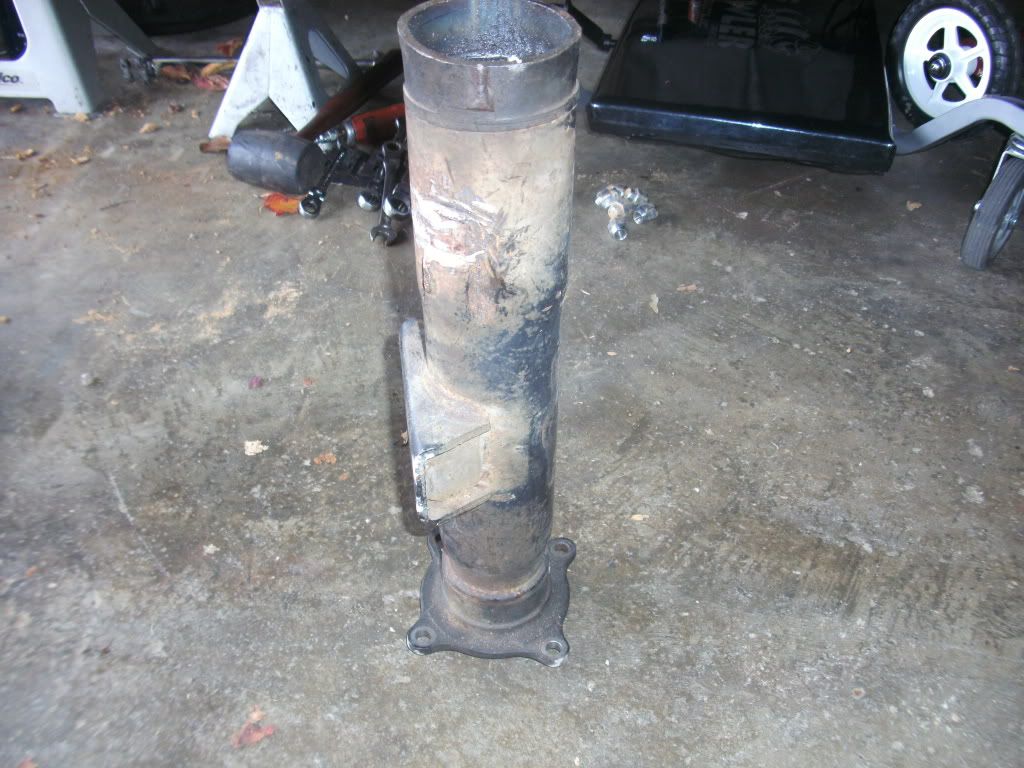
this is the unfinished "HOME MADE SST" at this point I still needed to weld some triangular sides on them so the SSt would rest on the sides of my press if you would like more information on one of these tools let me know and we can get some information on exactly how to make them.
now back to the project.
as you can see with the SST on the axle and the 4 nuts back onto the bearing cup it will look like you have just put the axle back in the housing.
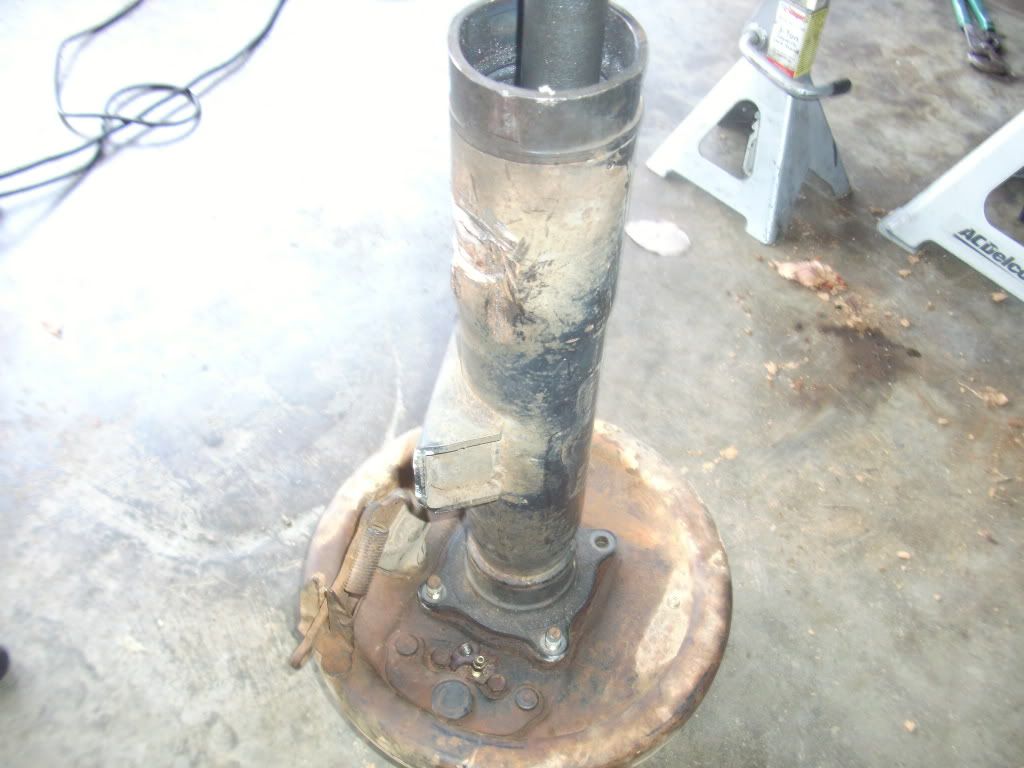
with this you will press
DOWN on the axle splines while the SST presses
UP on the backing plate this causes the two pieces to seperate one another. you will then hear a POP noise and the axle will fall away from the backing plate keep in mind to catch the axle and not let it drop on the ground or else you COULD damage it.
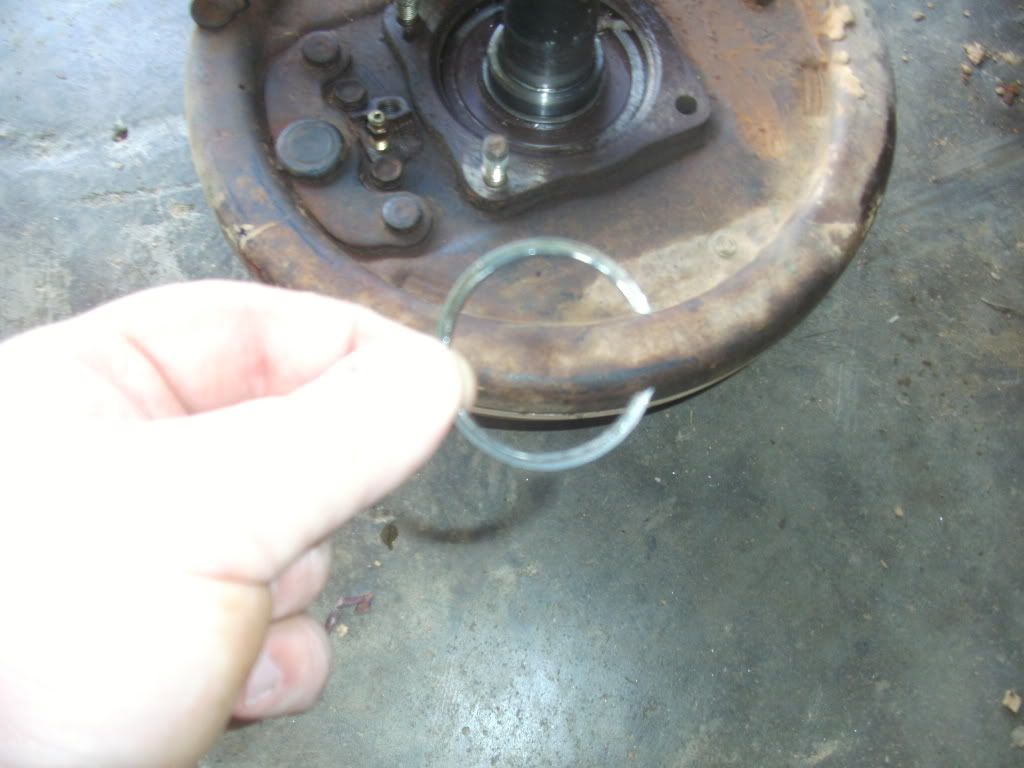
after you have the axle free from the backing plate you should have something that looks like this with out the snap ring
I went one step further and removed the large wheel bearing
NOTICE YOU DO NOT NEED TO DO THIS UNLESS YOUR BEARING IS DAMAGED this step can be skipped if its not needed
if it is damaged you will have to remove the bearing from the bearing cup and it will look like this.
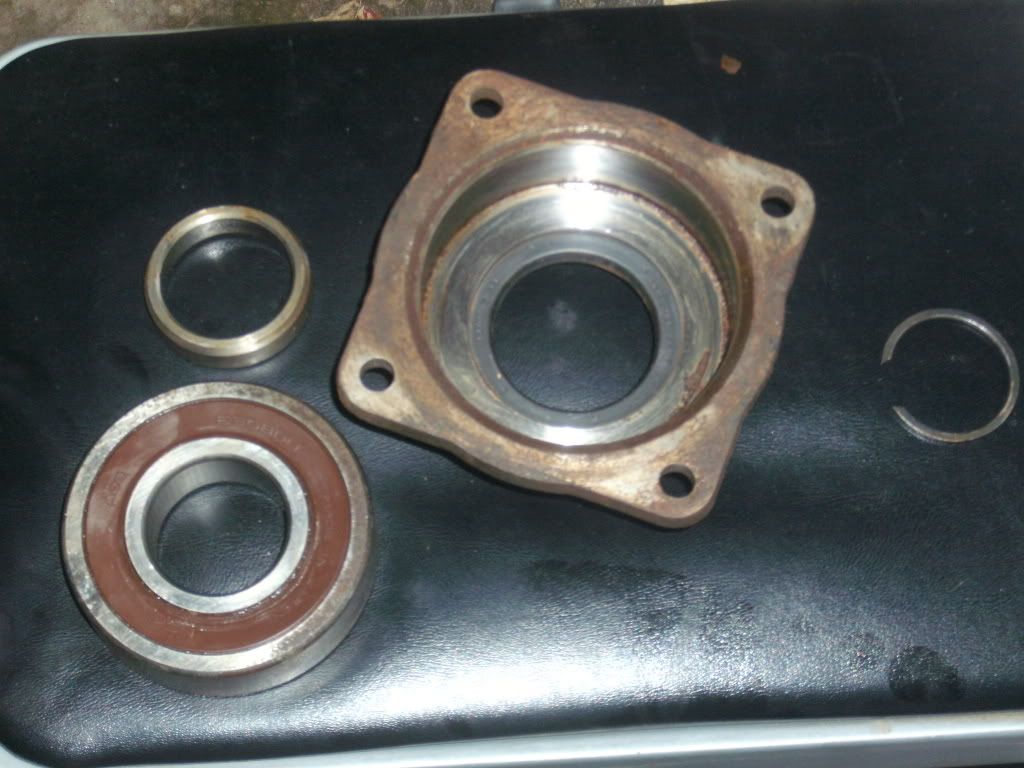
as you can see in the above picture there is a press ring that sits ontop of the large bearing if you replace the bearing you will have to remove this as well.it all comes off at once when you press the bearing out of the bearing cup.
you have now completely torn down a axle shaft from the rear axle.
pictures of the ALLPRO disk brake bracket and the calipers I used and the rotors and pads will be up as soon as I get a chance to get back into the garage with my camera and snap some more

until then I HOPE YOU HAVE GOTTEN ALOT OUT OF PART 1 OF A REAR AXLE DRUM TO DISK CONVERSION


