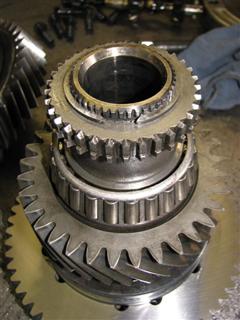
Once the output gear bushing has been pressed back on, reinstall all components: shift hub, needle roller bearings, and high speed output gear. Tip: Note your mark on the shift hub to ensure it is installed with the proper face facing upward, and align it to install over the three grooves of the clutch hub. Tip: Add grease to the needle bearings to hold them in place before installing the high speed output gear. Next, press the front tapered roller bearing back onto the front case shaft, making sure to only apply force through the inner race of the bearing (never press against the cage!) Finally, replace the front drive gear and its snap ring.
The last step is to reassemble the differential and reinstall the rear differential case.
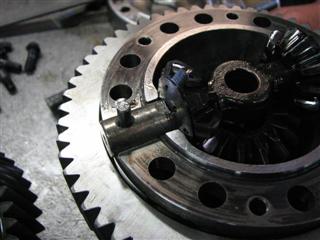
Procedure for installing the factory center differential assembly:Replace the pinion shaft with gears and shims onto the front case. The rear side gear may be placed atop the two pinion gears, or it may be placed inside the rear differential cover and lowered on top of the assembly.

 Procedure for installing a center differential spool:
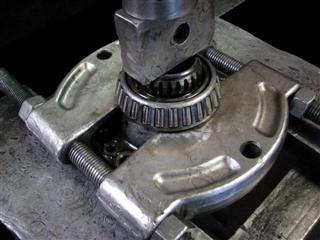
To install the center differential spool, transfer the rear tapered roller bearing to the new spool. Using a bearing splitter, capture the roller bearing by its inner race and press the rear differential case through its center. Press the bearing onto the spool making sure to only apply pressure through its inner race.


The pinion shaft, gears, thrust washers, rear side gear and pin are no longer required any may be discarded. The front side gear and its thrust washer however must be installed into the front differential case. It is required to support the front output shaft.
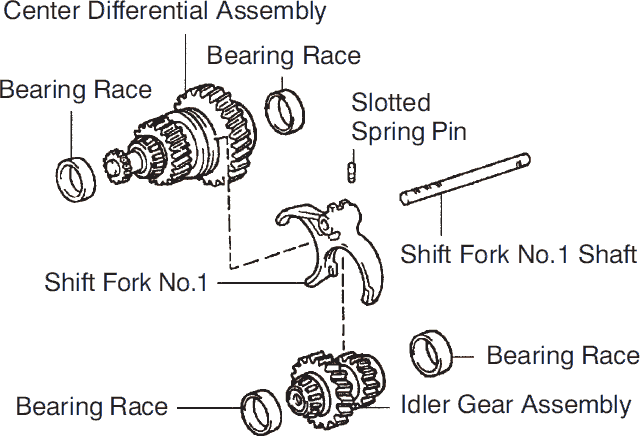
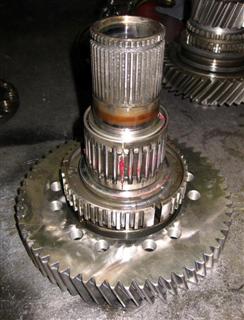
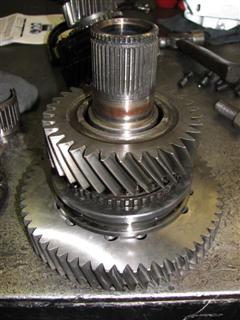
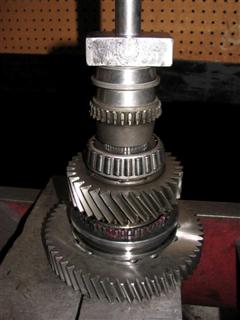
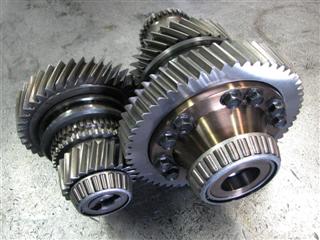
Final assembly procedure for all applications:Now we are ready to install the 12 case bolts. Install all 12 bolts finger tight. Using a criss-cross tightening pattern, torque each bolt to 65 ft-lbs. Loosen all 12 bolts, and then retorque each bolt to 72 ft-lbs. Tip: A tightening pattern is not required for this final torque. The center differential, idler gear, and shift fork/rail can now be reassembled together. The final assembly will look similar to this:
Set the center differential assembly, idler gear assembly, and shift fork back together and you're done with the low range and differential assembly!