* Click on each image for a larger view *
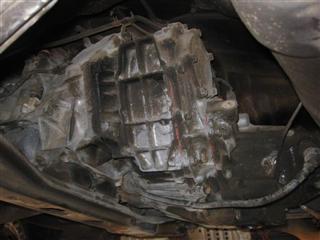
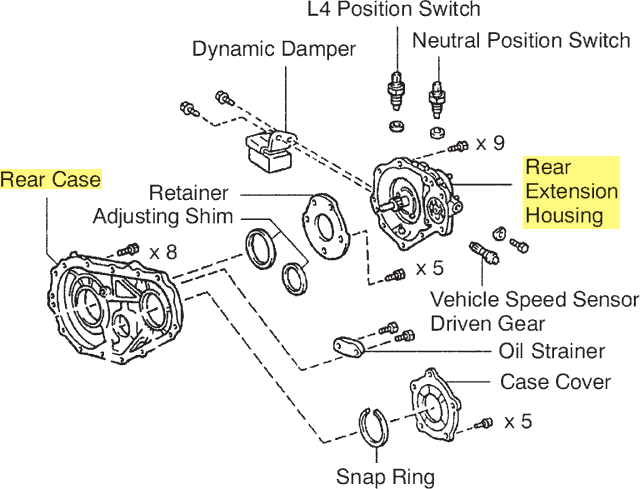
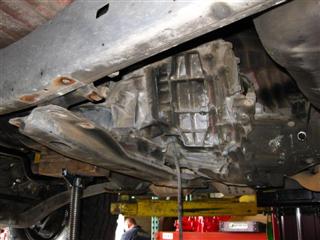
The nice thing about this install is that it only requires the removal of the rear case (housing #2) and the rear extension (housing #3) housings. The transfer case itself remains attached to the transmission, and only the rear drive line needs to be disconnected from the unit. Here is a diagram of the rear components of the transfer case (photo copyright Toyota Motor Corp):
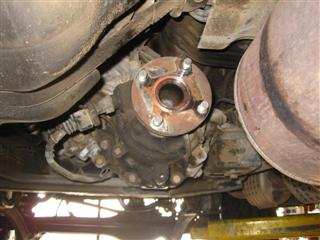
To begin, chock your wheels, shift your truck into low range and leave the transmission in neutral. It is important to shift the transfer case into low range so we won't have to reindex the low range actuator during reassembly. Remove the rear drive line and then set a jack beneath your transmission and unbolt the cross member to lower the drivetrain a few inches for a bit more room to play with. Drain the transfer case gear oil. The automatic transmission fluid does not need to be drained.
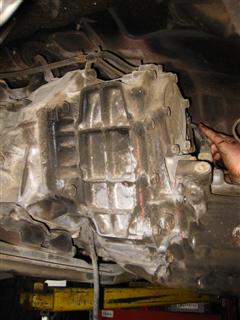
Next we disconnected accessories to the rear housings including the breather hose (atop housing #2), the plugs from the 4WD & neutral position switches, speedometer cable, and ground wire (all from housing #3).
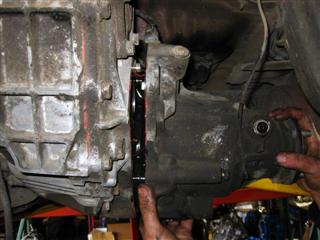
Now we are ready to remove the rear extension housing. To do so, remove the 9 bolts holding housing #3 to housing #2, and then lightly tap on the housing with a soft mallet to break the silicon seal. These 9 bolts are not all the same length, so take note where each bolt is removed from. Also, two of the 9 bolts are installed into through-holes which require a thread sealant before reassembly. These two through-holes are circled in the image below. Their may be a trace amount of gear oil remaining so prepare for some to drip out once this seal is broken. The extension housing may now be set to the side.

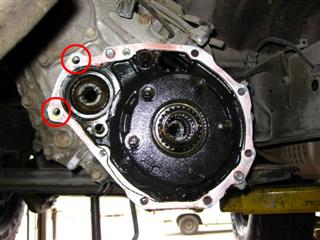

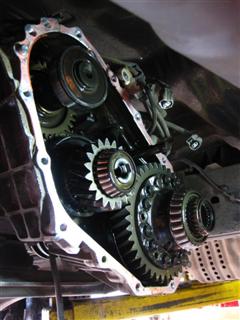
Now we need to remove the #2 housing to get to our center differential and idler gear assemblies. To do this we first removed the 5 bolts holding the center diff retainer, and removed the retainer along with its adjusting shims (Note: As this is a differential, it uses tapered roller bearings that must be preloaded, just like the bearings on your third member carrier. This carrier uses shims instead of adjusting wheels to achieve this). Next, remove the 5-bolt case cover and remove the snap ring from the input shaft assembly. Below is a picture of the adjusting shim retainer (left) and the case cover (right). The rear case housing may now be removed. Again, take precautions for a trace amount of gear oil while removing this housing.