So I embarked on a mission to build a set of military beadlocks a few years ago. I found a set on CL for a very fair price, and set about the process. I did start from the beginning, and did the recentering myself with a couple of friends. Before I get into it, here is a link I recently found (not sure how I missed it the first time around), that was extremely helpful.
http://www.pirate4x4.com/tech/billavista/PR-Hummer_Rims/Wheel Prep If you're starting from ground zero, you'll probably have a set of standard HUMVEE backspaced (7") dual piece wheels, with several coats of military grade paint, and some worn out o rings and valve stems. Clean them up, it'll make life a lot easier.
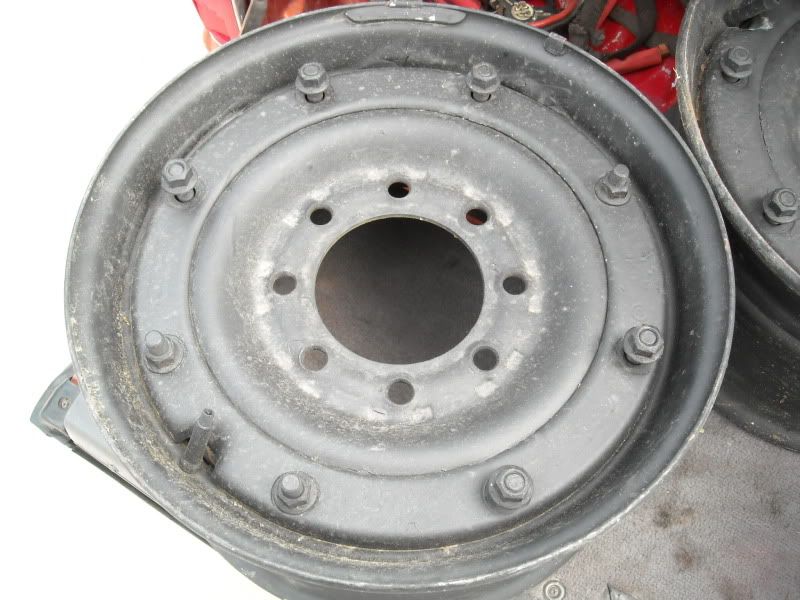
If you're recentering them yourselves, this was the method I chose. Sorry I don't have step by step photos, but you'll get the gist of it. First, with the wheels put together, I sprayed around the inside edge of the top piece of the wheel. I then removed it, and proceeded to draw a line with my angle grinder (4.5") around that sprayed edge. After I had a deep groove, I pie cut the middle section (where the lug holes are), and then just took my time and cut around that grooved circle
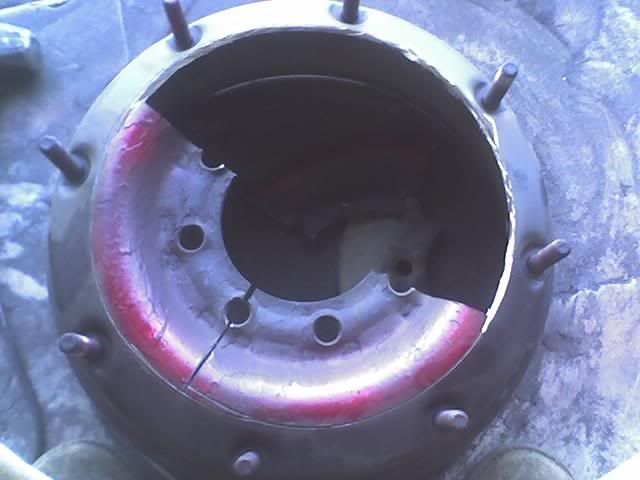
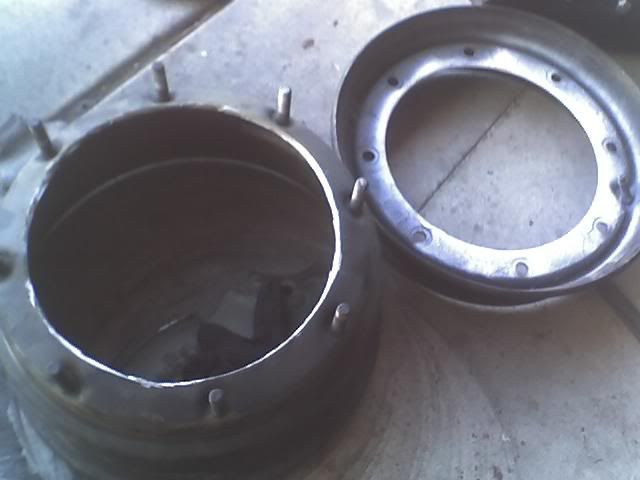
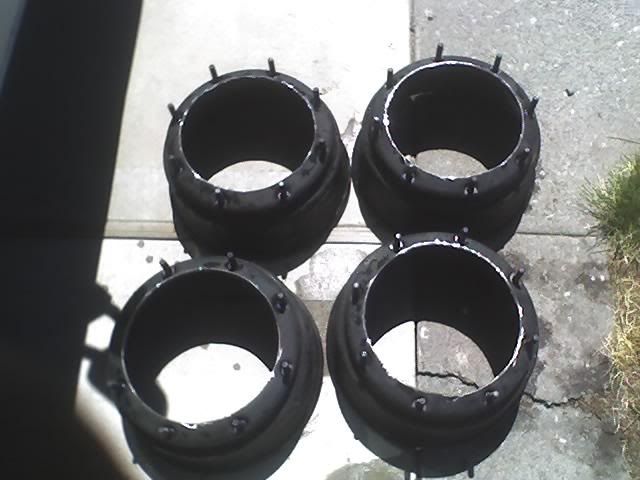
Recentering is next. First off, place the larger piece of the wheel upside down on the lug nuts. I eliminated any height difference of the lug nuts by resting the wheel on pieces of steel placed between them. If you're not too picky about your backspacing, you can drop your centers in, and get them level with the wheel. Obviously you need to be working on a level workspace, at least the size of the wheel. If I remember right, mine wound up being 4.5" of backspacing or so.
Apparently my pictures have disappeared showing this section, but basically, check, check, and double check that everything is level. I tacked opposing sides, checking the level with each tack, until I had 6 tacks around the recenter. Once the recenter was secure, I went back and did the finish welding, taking my time and keeping the wheels fairly cool, to prevent warping.
A few other options I considered, depending on your resources, were placing blocks, under the wheel center, cut to the height needed to establish your backspacing. You could also come up with a method to suspend the wheel center at your desired backspacing.
*Note. I failed to consider the length of my hub, and wound up with my locking hubs just outside of my wheels. Not a huge issue in my case, as the hubs remain locked 90% of the time, but definitely something I'd do differently.
Once you've got your centers welded in, you're ready to either balance the wheels, or just move on with the assembly. If you are going to add rock rings, make sure you do this now.
My rock rings were very straight forward, they fit just inside the outer lip of the wheel, and were very easy to line up, and weld in place. After they are installed (or not, depending on how you want to go), put the wheels together, and balance them as a complete piece.
rough pic of the rock rings, but you get the idea
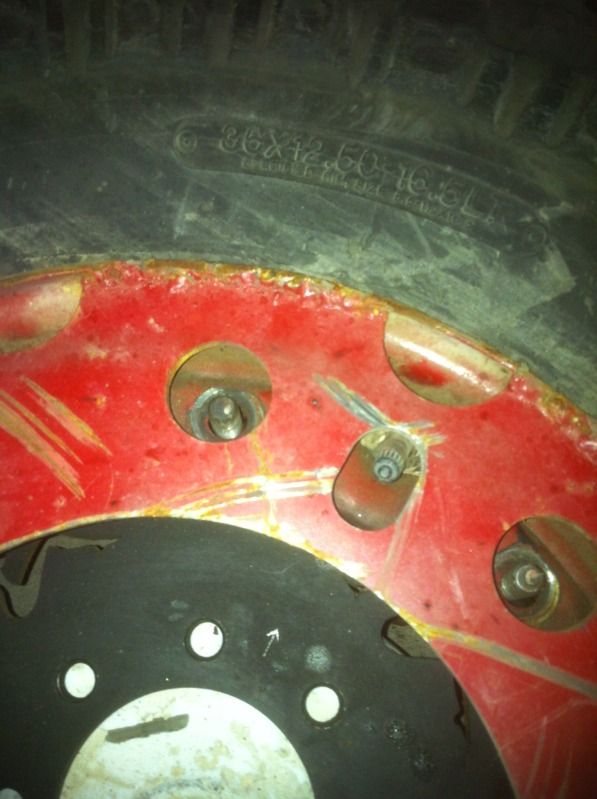
I opted to balance the wheels, as a buddy of mine has an old school bubble balancer. We wound up having to add between 1-3 oz. to each wheel, which we did by simply using some 1/4" flat bar cut into 1x1 sections, and tacking them into the inside of the wheel at the needed location.
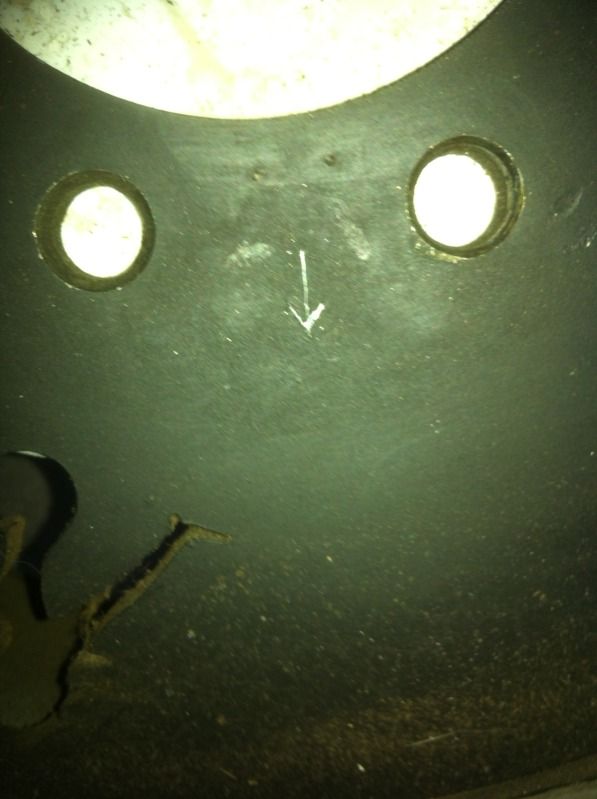
If you balance your wheels, make sure you mark the two pieces, so you can put them together the same way every time. I just scratched an arrow into the recenter showing where the valve stem goes (valve stem is in the smaller piece).
 Runflat assembly
I got my inserts (inner beadlock) from Northern NV Supply. Far cheaper than pre cuts from trailworthyfab.com or anywhere else online. (Nothing against the company, just my observation).
My inserts are made out of 16" ID water pipe. Ordered by the foot, and I had them cut at 7" sections. If I recall correctly, I paid around 70 bucks for the 4. After initial test fitting, I discovered I needed to trim them down to 6.75". Keep in mind this will be dependent on the thickness of the bead of your chosen tire.
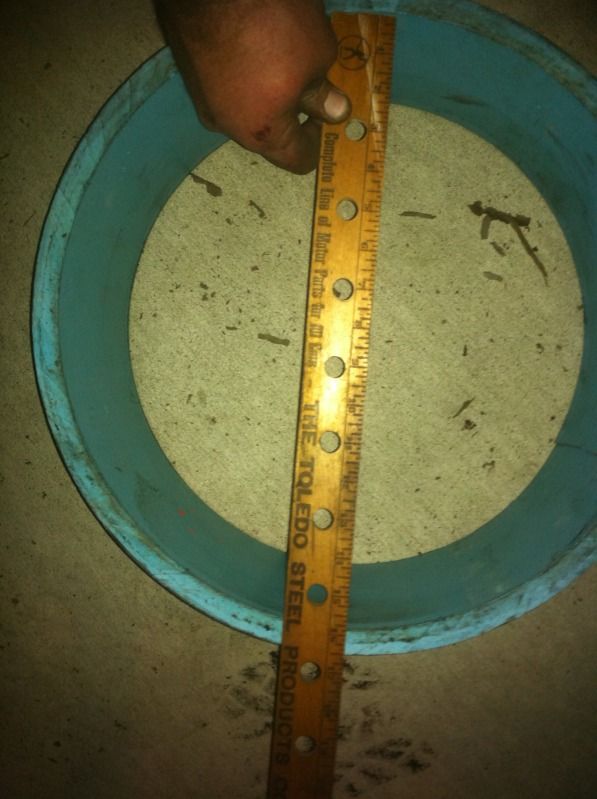
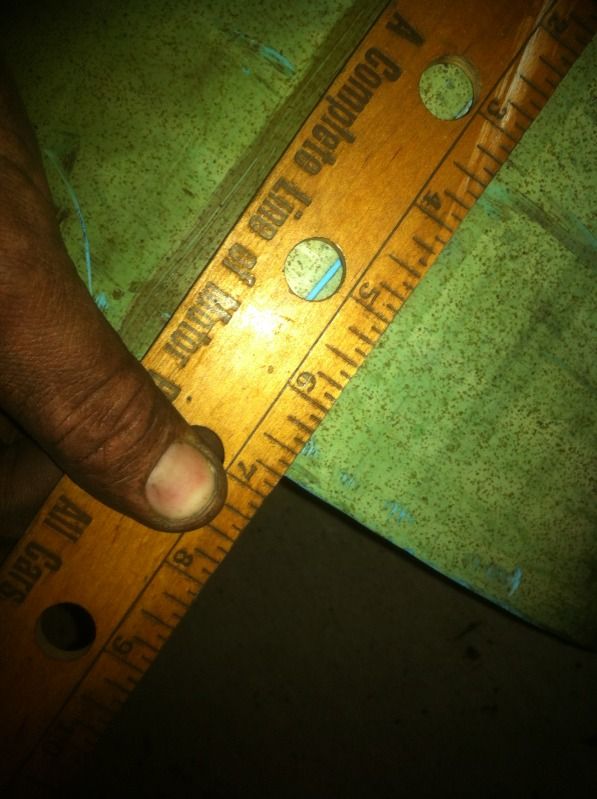
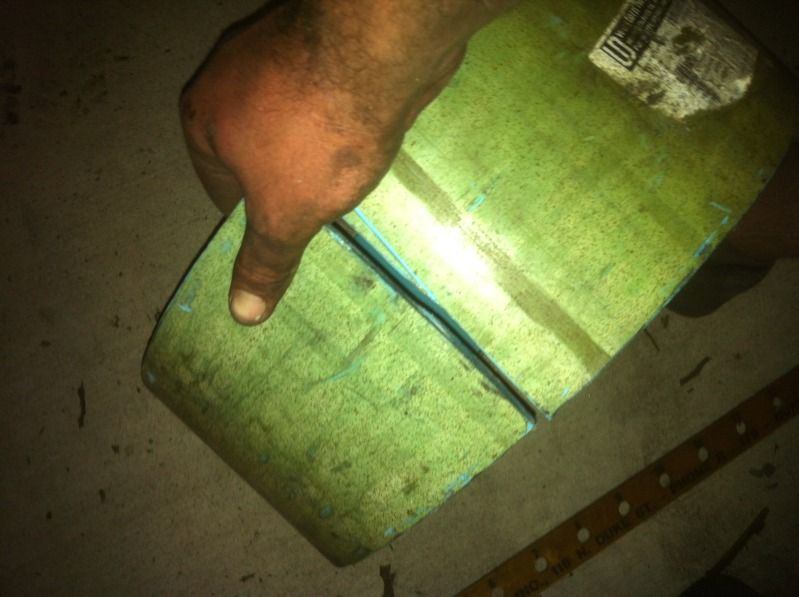
As you can see, I cut my inserts in one spot, in order to 1) accomodate fitting over the wheel (16" ID fitting over a 16.5" wheel doesn't work so well) and 2) to facilitate installation and removal. My presumption, so far true, is that a gap of approximately .75" in the insert is not enough to allow me to lose a bead. So far so good.
Once you have your inserts ready, you can install them in your tires. Prior to this, I dumped 15oz. of airsoft BBs into each tire to help, or attempt to balance them out.
Place the tire flat on the ground, and stand the insert up perpendicular to the tire.
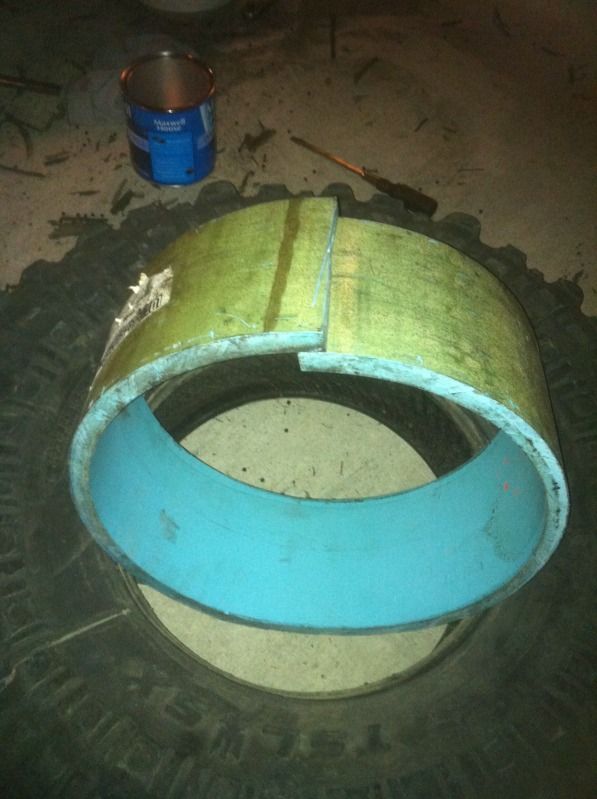
This is where the cut in the insert comes in handy, as you can slide one edge under the other, collapsing the OD of the insert to facilitate install in the tire. At this point, I tilted the tire at a 45* angle, pushed the insert into the center, and manipulated it until it was inside the tire.
Final AssemblyFinally, you're almost done. Go over all of your sealing surfaces, and ensure they're smooth. I used a wire wheel on my grinder, worked great. If the valve stems or studs need replaced, do it now. Put the larger piece of the wheel on top of a 5 gallon bucket, or something else that supports just the wheel, and won't touch the tire when its placed. This is very important, I've never been able to get the beads to seat properly without it.
soak your new O rings with soapy water (no such thing as too much). Don't bother reusing the O rings. Anytime these wheels come apart, plan on using new o rings. You can make it work, but its really a pain in the ass, and just not worth it. Place the O ring on the wheel, and set them on the shoulder of the larger section. Make sure the O ring is positioned evenly around the wheel.
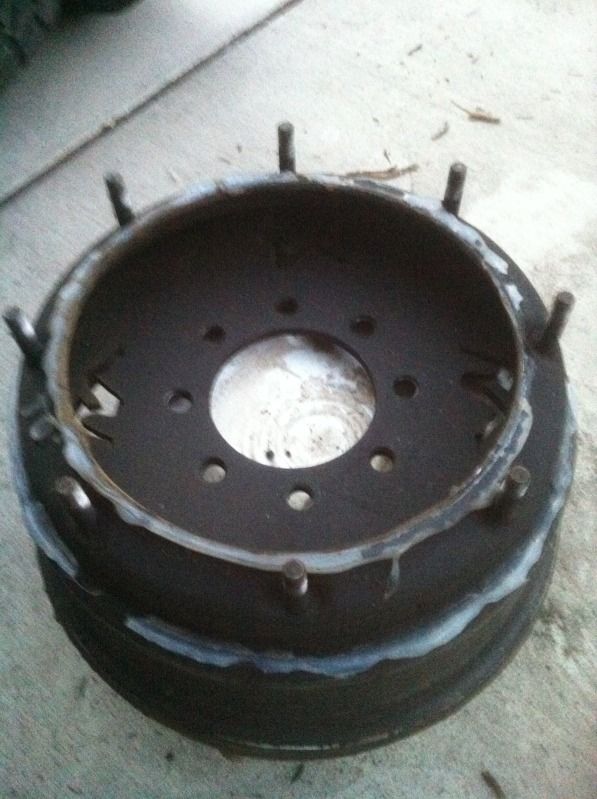
This was from when I made old O rings work. Notice all the silicon. I no longer have ANY silicon on the wheels, and they're holding just fine. That lower bead of silicon is the shoulder the O ring sits on.
Next, place the assembled tire and insert over the lower wheel section. Feel free to put your weight into it, and get it settled down on the wheel. You'll notice the insert expanding at the cut, it winds up being right around .75" for me.
Once you're comfortable with it being pressed down, give the O ring a some more soapy water (I use an old armorall spray bottle), and get it nice and wet.
Next, place the 2nd piece of the wheel over the studs, and press it down as evenly as possible. Press it down far enough to get about .5" of stud through the holes.

At this point, thread all of the nuts onto the studs, and begin to tighten them down. Do this in the same star pattern you would mounting the wheel on the hub. Initially, I do about 3-4 threads at a time. You really need to make sure that top piece goes down level, or you'll cut the O ring and have to start over on the assembly.
Once you have the two pieces tightened together, torque the nuts to 65 lb ft. Once they've all been tightened, still using the star pattern, retorque them to 95 lb ft. The referenced article above cites different numbers, but I was not able to get my wheels to seal at those torque specs. Other references I came across cited different specs, so I basically split the difference on mine.
\
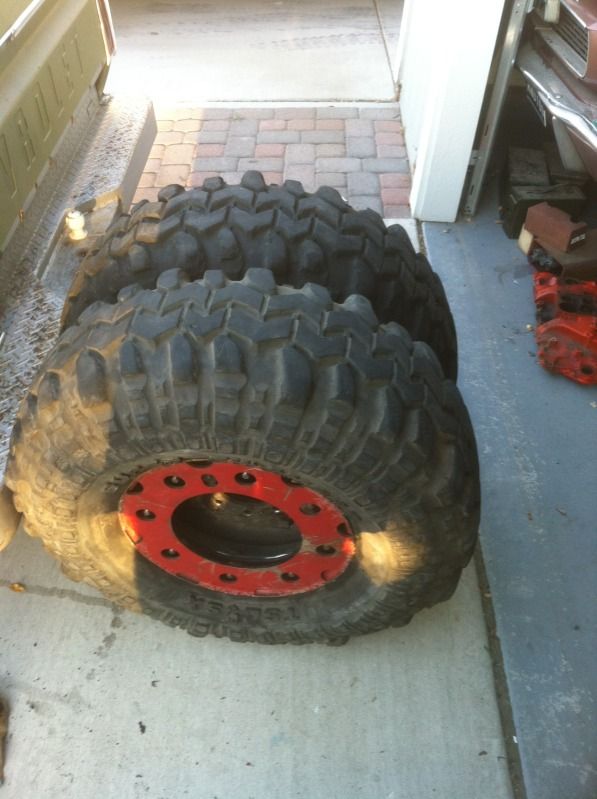
Now, inflate your tires. I inflated mine to 25 psi, to ensure the bead sat properly, and to essentially create enough pressure to cause a leak if there was going to be one. I leave the tires sitting overnight, just to ensure there are no leaks, and if not, go ahead and mount them on the truck.
Just a few more things.
My beadlocks were missing a couple nuts, so this one came in handy
The nuts are 1/2"-NF20.
The O-rings are 14.5" Buna-N (Nitrile) - British Standard part number 458N70 or AS568A "Dash Number": -458.
I got these from Grainger, 13.27 for a 2 pack. Grainger part number 1KTL1. Apparently their central warehouse is the only one that stocks these, so make sure you allow time for shipping (4 days to Reno, NV from I believe Chicago.) I also found a couple of hydraulic shops in town that stocked them, but they were a lot more costly (up to 12 bucks a piece), and none had 4.
My end results, I could not be more happy. These are definitely heavy, but that has come in handy. With the wheels balances, and the airsoft BBs, I've had these up to 65mph, with minimal shaking. I would not want to run my beadlocks on a DD, if I were to go that route I would go with the trailworthyfab.com beadlocks. However, if you want to make yourself some primarily offroad beadlocks, this is definitely the way to go. For any that are wondering, I did have the welds assessed by a professional welder/friend, who went over my welds, deemed most of them appropriate, and added some where he felt they were needed.
The only thing I'd do differently would be to measure my hubs, and make sure that my hub locks were protected by the wheels. My own idiot mistake, but I'm happy to let people use it as a learning tool.
If anyone has any questions, comments, or concerns, by all means let me know.
And just FYI, Initially I ran 37" Goodyear MTs (military tires), and just went to 36" TSL SXs. There was minimal difference between the bead size, and I didn't have to make any adjustments to the assembly process or the inserts.