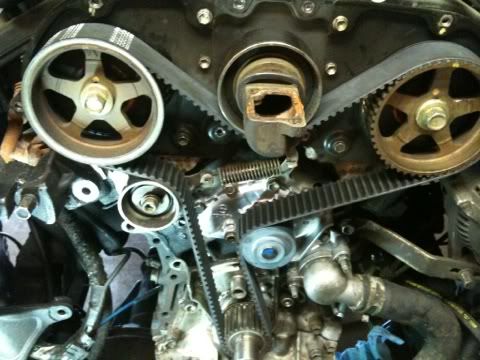
Now its time to check the marks on the crank pulley and the two cam pulleys. All of the marks should line up perfectly
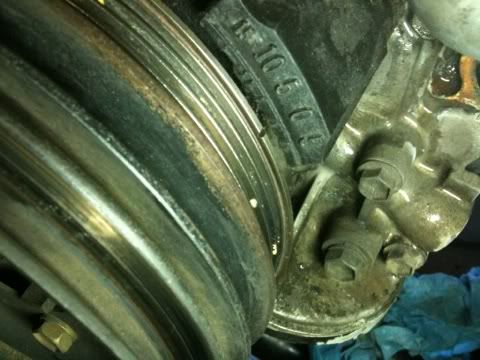
CRANK PULLEY mark set at 0
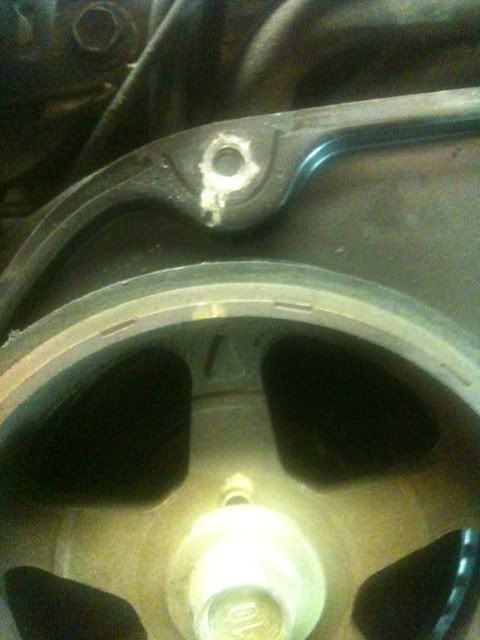
Left CAM PULLEY
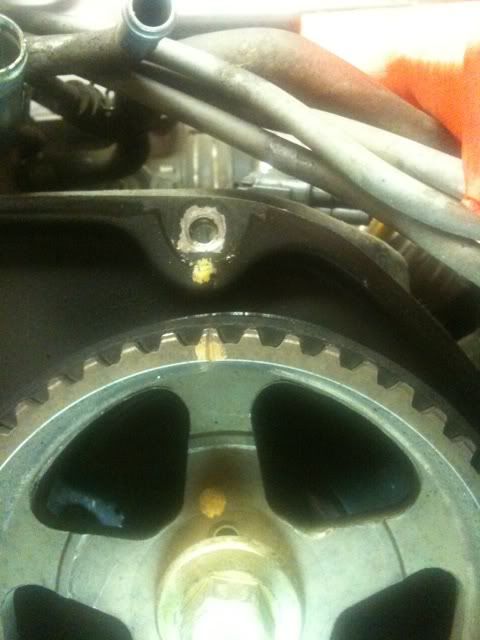
Right CAM PULLEY
Once you are sure everything is lined up remove the crank pulley. The manual sais you need a Special service tool to remove the Crank pulley nut. But I did not have one.
So I put a six sided 19mm socket on my 36" breaker bar. Set the breaker bar on TOP of the DRIVER side frame rail. NOW REMOVE the COIL WIRE SO YOUR MOTOR DOES NOT ACTUALLY START. Put the socket on the crank pulley bolt, and crank the motor over for a second. Since the motor spins clockwise this will loosen the crank pulley bolt. It is scary to do, and i do not recommend this method. The bolt will need to be torqued back on during installation at 181ft lbs.
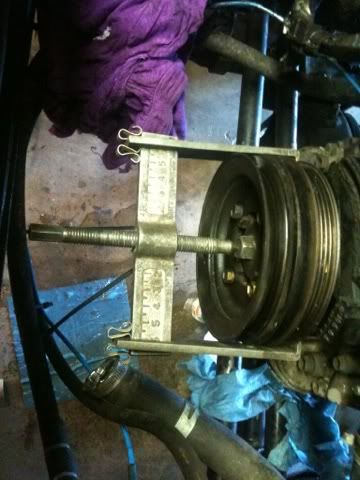
Now that that crank pulley bolt is loose/removed you can use a pulley pullinng tool to remove the crank pulley. I had to find another longer bolt that matched the crank pulley bolt for my pulling tool to work. After the pulley is removed there is a big cupped washer lookin thing it is the "timing belt guide". The cupped side faces outword to the front of the vehicle.
Now remove the lower Timing Belt cover.
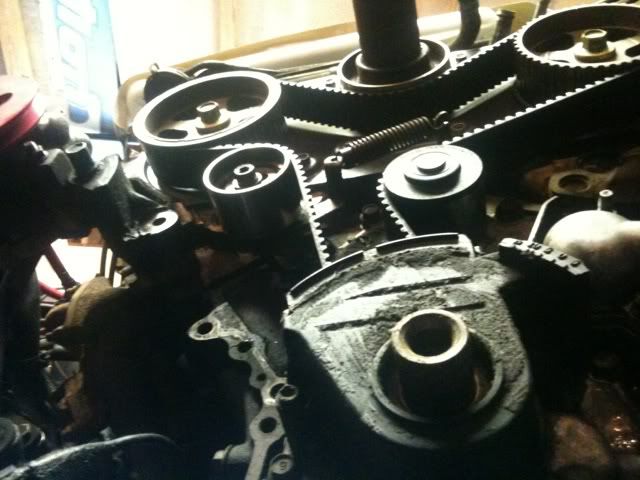
Now the front of your Motor should look like this. Now you can see the power steering pump and Timing belt in all its glory.
more to come later....


