I decided to make the grille in three pieces, two ends and a center section. Starting off with the grille ends I took the usual steps of making a cardboard pattern and cutting it out in metal form. I then worked the metal into it new shape.
For the inside ends of the end sections I folded the end of the sheet metal to make it sifter and to give it a nicer look as it meet up with the center section. This also made it so I didnt have to make any kind of attachment (screw, bolt, etc) between the two. Also if you look to right side of the pic you can see where I welded a small piece of a rod for a peg to hold the inside end of the section in place. This giving it a nice cleaner look with no screws.
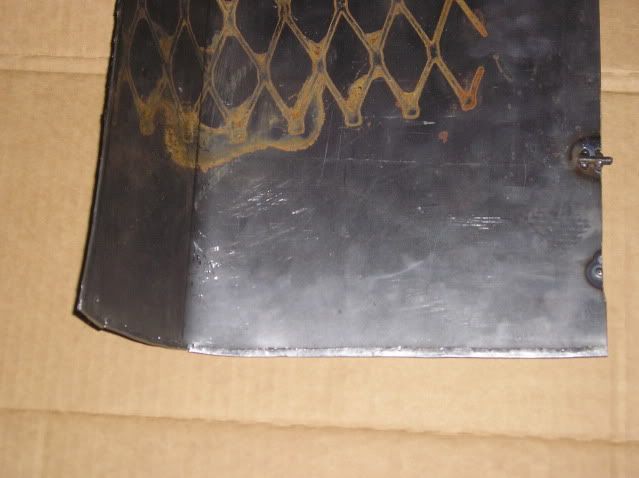
The top half of the right end section.

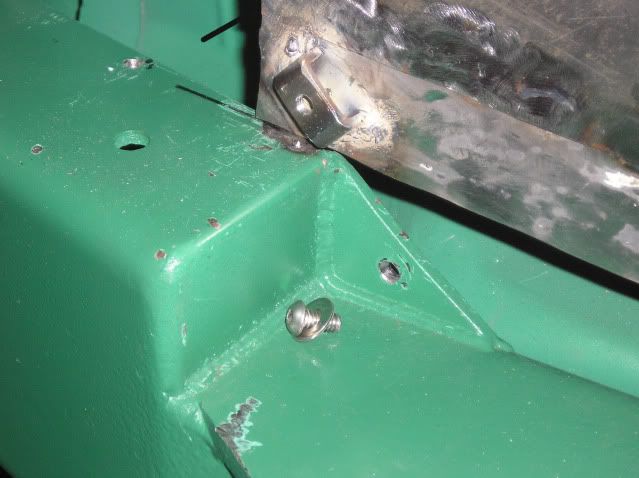
After the end sections were in their basic shapes I then made the center section. This one was pretty much just cutting to size and making the two bends at the top half to match the end sections. I also made so that it would lap underneath about 1 under the each end section too. I also made it so the lower half went back a 1/2". For this I cut a piece of 1 x 1/8 square tube at a length of 3/4". I then cut it in half to make two |_| shapes and welded them into place at the lower corners so that they would be behind the bumper. Next was drilling a hole through the bumper and the half square tubes. With the center section in place and using needle nose vise-grips to hold the half square pieces tight to the bumper I drilled the holes so I could thread the half square pieces for a 1/4" bolt. Then redrilled the bumper so the bolt would slide through it. I also folded the bottom edge over to stiffen it up.
Next I put the end sections into place and marked where I was going to bend them at so they went into the center section.
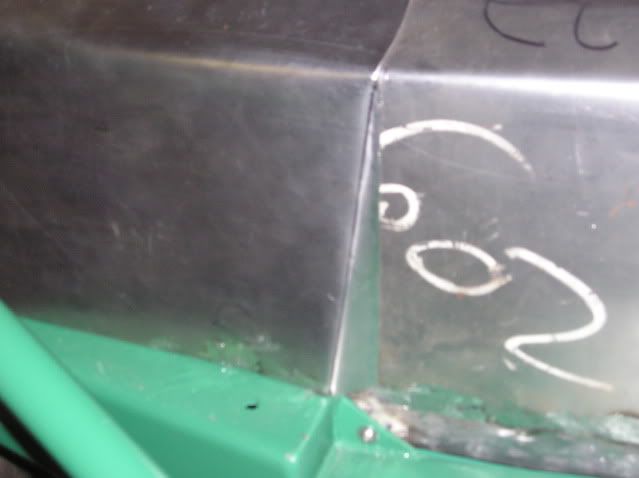
Here how it is as of now. Side view.

Front view. Sorry didnt realize this one come out so dark. Ill see about getting a new one before the weekend and I tear into it again.

An idea of the placement of the headlights.

Whats left:
Add headlights
Cut hole for hood latch
Hide half square tube pieces
Make air way for radiator
Paint


