just installed a winch on my truck and the stock alternator was way too weak before, so i decided to upgrade. did some research and was gonna send it in to have it rewound, but the guy told me they only make parts for the mod for certain years of tacomas, mine wasn't one of the model numbers that they made a kit for and at $185 it was a little expensive. the mr2 alt at NAPA was $200 so i threw that idea out. i had a v6 alt i was gonna add and have two, but the box for the winch got mounted in the only location. sooooo i found a link on pirate of a guy that had all the part numbers and info to do a chevy alt on a 3.4 so i took the numbers and went to NAPA. the alternator # was for craigen and didnt come up in there system so we looked in the book and found one that was close. it had a 6 rib pully and we need a 5 rib so he pulled the correct pully off another and put it on mine.
so here we go:
~105 amp GM alternator, NAPA part #213-4513d $99.89
~ GM plug, NAPA part #EC101 $10.69
~ 906mm serp belt(could be 10mm or so shorter, but not longer)
~ 5/16x2.5" bolt and nut
no major mods had to be done.
first thing is take alt off, take bracket off the block.
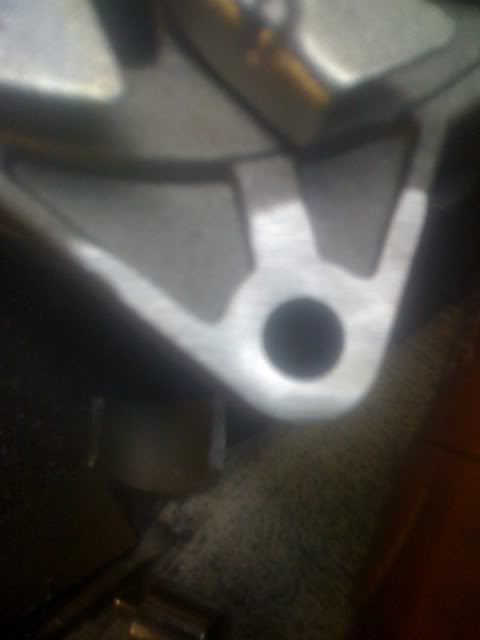
once the bracket is off there is spacer/sleeve that is inserted into the forward bolt hole. pound it out then shave a 1/16th or so off it and reinstall it backwards, make sure it isnt sticking out on the inside of the bracket if so grind some more off.
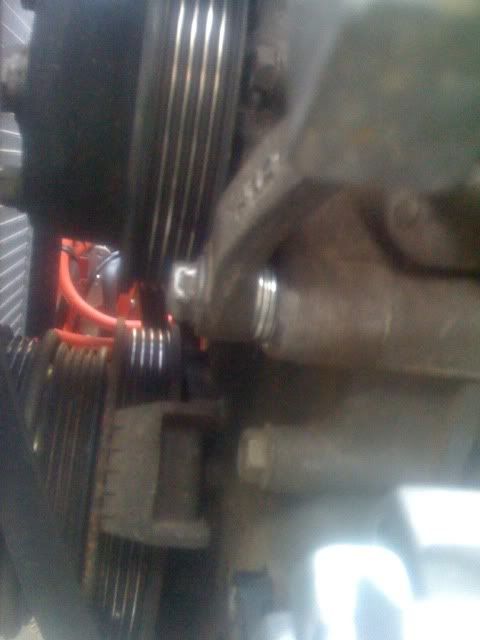
next your gonna have to grinda a little off the alt, you just need to sand/grind down the ribs until smooth. the goal is to get the alternator forward to line it up with the other pullys.
once thats done pull the top adjuster bracket off and put about a 1/4" spacer or washers between the bracket and block.
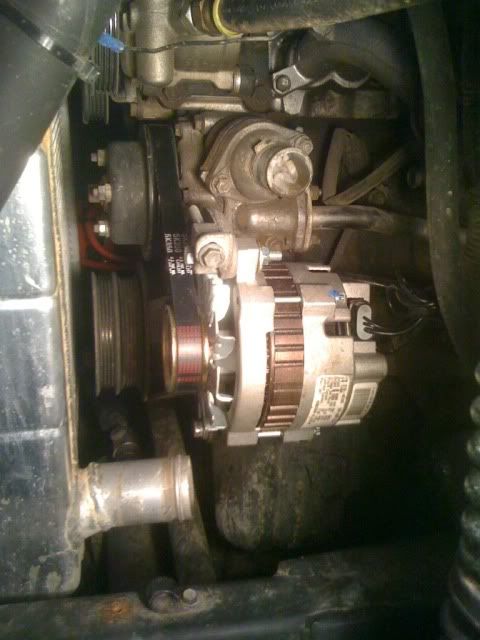
now reinstall the alt, on the lower bracket i just stuffed a bunch of washers to fill the gap since the new alt has a little shorter mount. a spacer is probably the best way to go though(im lazy)
took the picture from the guy on pirate, it shows how to wire it up.
install the belt and done. took me 2 hours and most of the time was moving things out of the way to get to the alt.
keep going untill flush, i just stopped to take the pic